Vyatta Config Sync

Some of us run groups of Vyatta installations, having similar or even the same configurations, and when we need to modify configuration on all systems in group, we need to do it manually on every system. That’s definitely not good.
Recent Vyatta versions include configuration synchronization, but only in Subscription Edition. Community Edition, which I use, does not include such feature.
Install
- Add Vyatta4People.Org Repo.
- Install Config-Sync (required): sudo apt-get install vyatta-config-sync
- Install Config-Validator (recommended): sudo apt-get install vyatta-config-validator
- LogOut and LogIn back to load script alias.
Usage
vyatta-config-sync needs one mandatory parameter, which can take 3 values, each sets corresponding mode of vyatta-config-sync operation.
Load
Distribute configurations across slave hosts and load new configuration on each slave host.This is the most common modus operandi for vyatta-config-sync. Use it, if unsure.
Noload
Distribute configurations across slave hosts, but don’t load them.This may be needed only if your want to do something manually on a slave system before loading new configuration. You will probably never use it.
Reboot
Distribute configurations across slave hosts and reboot each slave host.You may use this mode in case of some fundamental configuration changes, that can not be applied at the runtime.
Quick Start
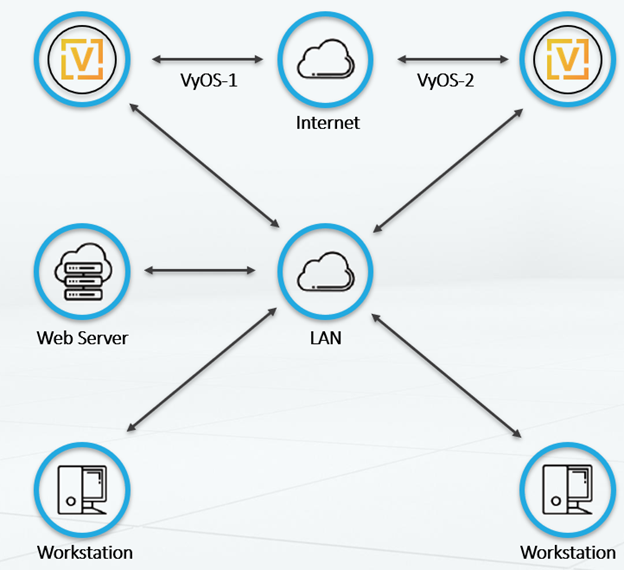
Imagine we have minimal group of 2 Vyatta routers r1 and r2. R1 is a master, we will edit configuration there
and r2 is a slave, it will be synced to master. NB! r2 configuration will not be touched manually! Both routers has 2 ethernet interfaces, eth0(WAN) & eth1(LAN), eth0 addresses are assigned via DHCP on both routers, r1 eth1 address is 192.168.0.1, r2 eth1 address is 192.168.0.2 NB! Equal number of ethernet interfaces is required on master and slaves! Other hardware details are not so important.
Create SSH private/public key pair on r1.
Install SSH public key from r1 on r1 (yes, really!).
Install SSH public key from r1 on r2.
NB!
Since Vyatta 6.0 you do not edit ~/.ssh/authorized_keys by hand.
See: system login user USERNAME authentication public-keys
NB!
Usernames on master and slave must be equal.
Launching vyatta-config-sync by root is prohibited, due to security reasons.
Now we need to edit project configuration files,
which reside in directory /etc/vyatta-config-sync/:
options.env
Global options for vyatta-config-sync. Edit on master:
enable_master_mode=1
Setting enable_master_mode to 1 will enable r1 to behave like master.
sync_hosts.conf
List of hosts in cluster. Edit on master. Append these 2 lines:
192.168.0.1 r1
192.168.0.2 r2
local_transformations.sed
Per-slave config.boot modifications are configured here.
NB! This file is edited on slave, NOT on master!
Use sed expressions, one-per-line, to modify slave config.boot before save.
Append this:
s/192\.168\.0\.1\/24/192.168.0.2\/24/g
It will replace 192.168.0.1/24 master IP with 192.168.0.2/24 slave IP.
Serial number of last synchronization. NB! Should not be edited manually at all!
Verify it works
First, configure nat rule on r1, commit and save:
- configure
- set service nat rule 1
- set service nat rule 1 type masquerade
- set service nat rule 1 outbound-interface eth0
- set service nat rule 1 source address 192.168.0.0/24
- commit
- save
- exit
Second, launch on r1 “vyatta-config-sync load”.
If console output looks like this:
vyatta@r1:~$ vyatta-config-sync load
——————————————————————————–
* r2
——————————————————————————–
[ OK ]
——————————————————————————–
That means all OK.
If you see something else, verify your setup
and, if nothing is clear, post your problem in a comment.
NB! You may use shorthand vcs instead of issuing vyatta-config


